Several discussions have been had about why LEGO uses stickers instead of printed parts. It comes down to providing more detail and design flexibility while keeping production scalable.
This involves balancing production costs, minimizing the number of unique elements in a set, and managing inventory more efficiently.
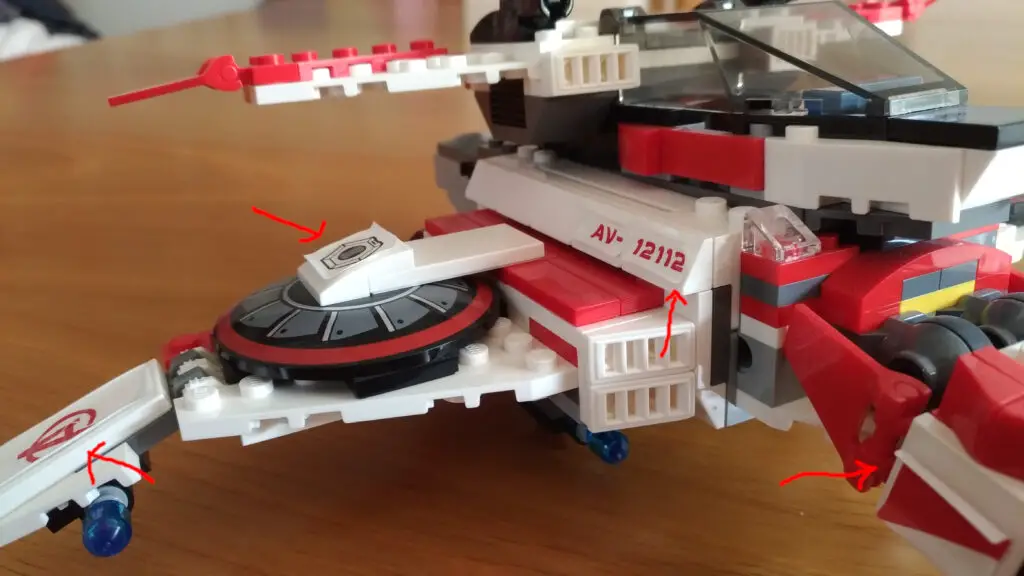
That said, LEGO stickers can be notorious for peeling or cracking, which makes the sets look less cool, or worse, old and worn.
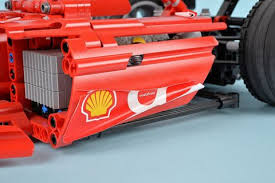
Table of Contents
How to Fix Peeled LEGO Stickers – Step-by-Step
1. Remove the sticker from the piece:
Use a razor blade and carefully hold it nearly flat against the brick. Start lifting at the edge of the sticker and slowly peel it away until you can grip it with your fingers. Continue pulling gently while sliding the blade underneath. Be patient and go slowly to avoid tearing.
2. Flatten and realign the sticker:
Place the sticker on a piece of waxed paper. Any remaining glue will stick lightly to the waxed paper, making it easier to handle. Once flattened and smoothed out, cover it with another piece of paper and place a cardboard on top. Then press it down with a heavy object (like a book or brick) and leave it for a couple of days.
3. Clean residue off the LEGO brick:
You can rub off most residue with your fingers. For tougher spots, use a petroleum-based cleaner like Goo Gone (sparingly). Afterward, wash the brick with warm, soapy water and let it dry.
4. Clean the sticker and reapply:
Once the sticker is out from under the weight, gently clean it with a kneadable eraser. If the sticker is mostly intact and the layers haven’t separated, you can peel it off the wax paper and reapply it.
If the adhesive is still functional, just press it back onto the piece.
If the glue is gone or the sticker has peeled apart:
- Re-glue the layers with a thin coat of paper-safe glue.
- Apply the sticker smoothly, align it, and place it under a heavy object to dry.
If a piece of the sticker is missing or stuck on the brick, replace the missing part with thin tissue paper and glue.
You can also restore stickiness using “repositionable” glue. Apply a thin layer, let it dry for a minute, then stick the label back on.
How to Protect LEGO Stickers From Peeling or Cracking
To prevent peeling and cracking before it happens:
- Apply a thin layer of clear coat over the stickers while they’re still new, before applying them to the set.
- Use an acrylic clear coat, varnish, or medium found in craft stores. Products from the scrapbooking or decoupage section are usually safe, but always test on a corner first.
- Only use a thin coat. Too much can yellow over time.
Important: Clear coat won’t fix already damaged stickers. It’s a preventive measure, not a repair tool.
If the sticker is already peeling or cracked, it’s often easier and more effective to get a replacement sticker sheet. You can find them through:
- LEGO’s official parts replacement service
- Third-party platforms like BrickLink, eBay, or BrickOwl
Better yet, get into the habit of picking up extra sticker sheets when buying a new LEGO set. They’re cheaper and easier to find while the set is still in production. Store extras in a ziplock bag, away from heat and sunlight, to prevent deterioration.
Troubleshooting: Why LEGO Stickers Aren’t Sticking
If stickers keep peeling, check the surface of the brick:
- Make sure the brick is smooth, clean, and dry.
- Dust, oil, or texture can prevent stickers from adhering properly.
For wall stickers or decals, if the wall is rough or uneven, stickers won’t stick well. Clean and smooth the surface before reapplying.
Tip: Don’t force stickers off. If needed, use a hair dryer to loosen the adhesive, then press it flat with a clean cloth and apply heavy pressure to smooth it out.